April 15, 2026
How To Tell If A Kitchen Island Will Actually Fit In Your Small Kitchen Layout
Start With The Real Minimum Space Around A Kitchen Island
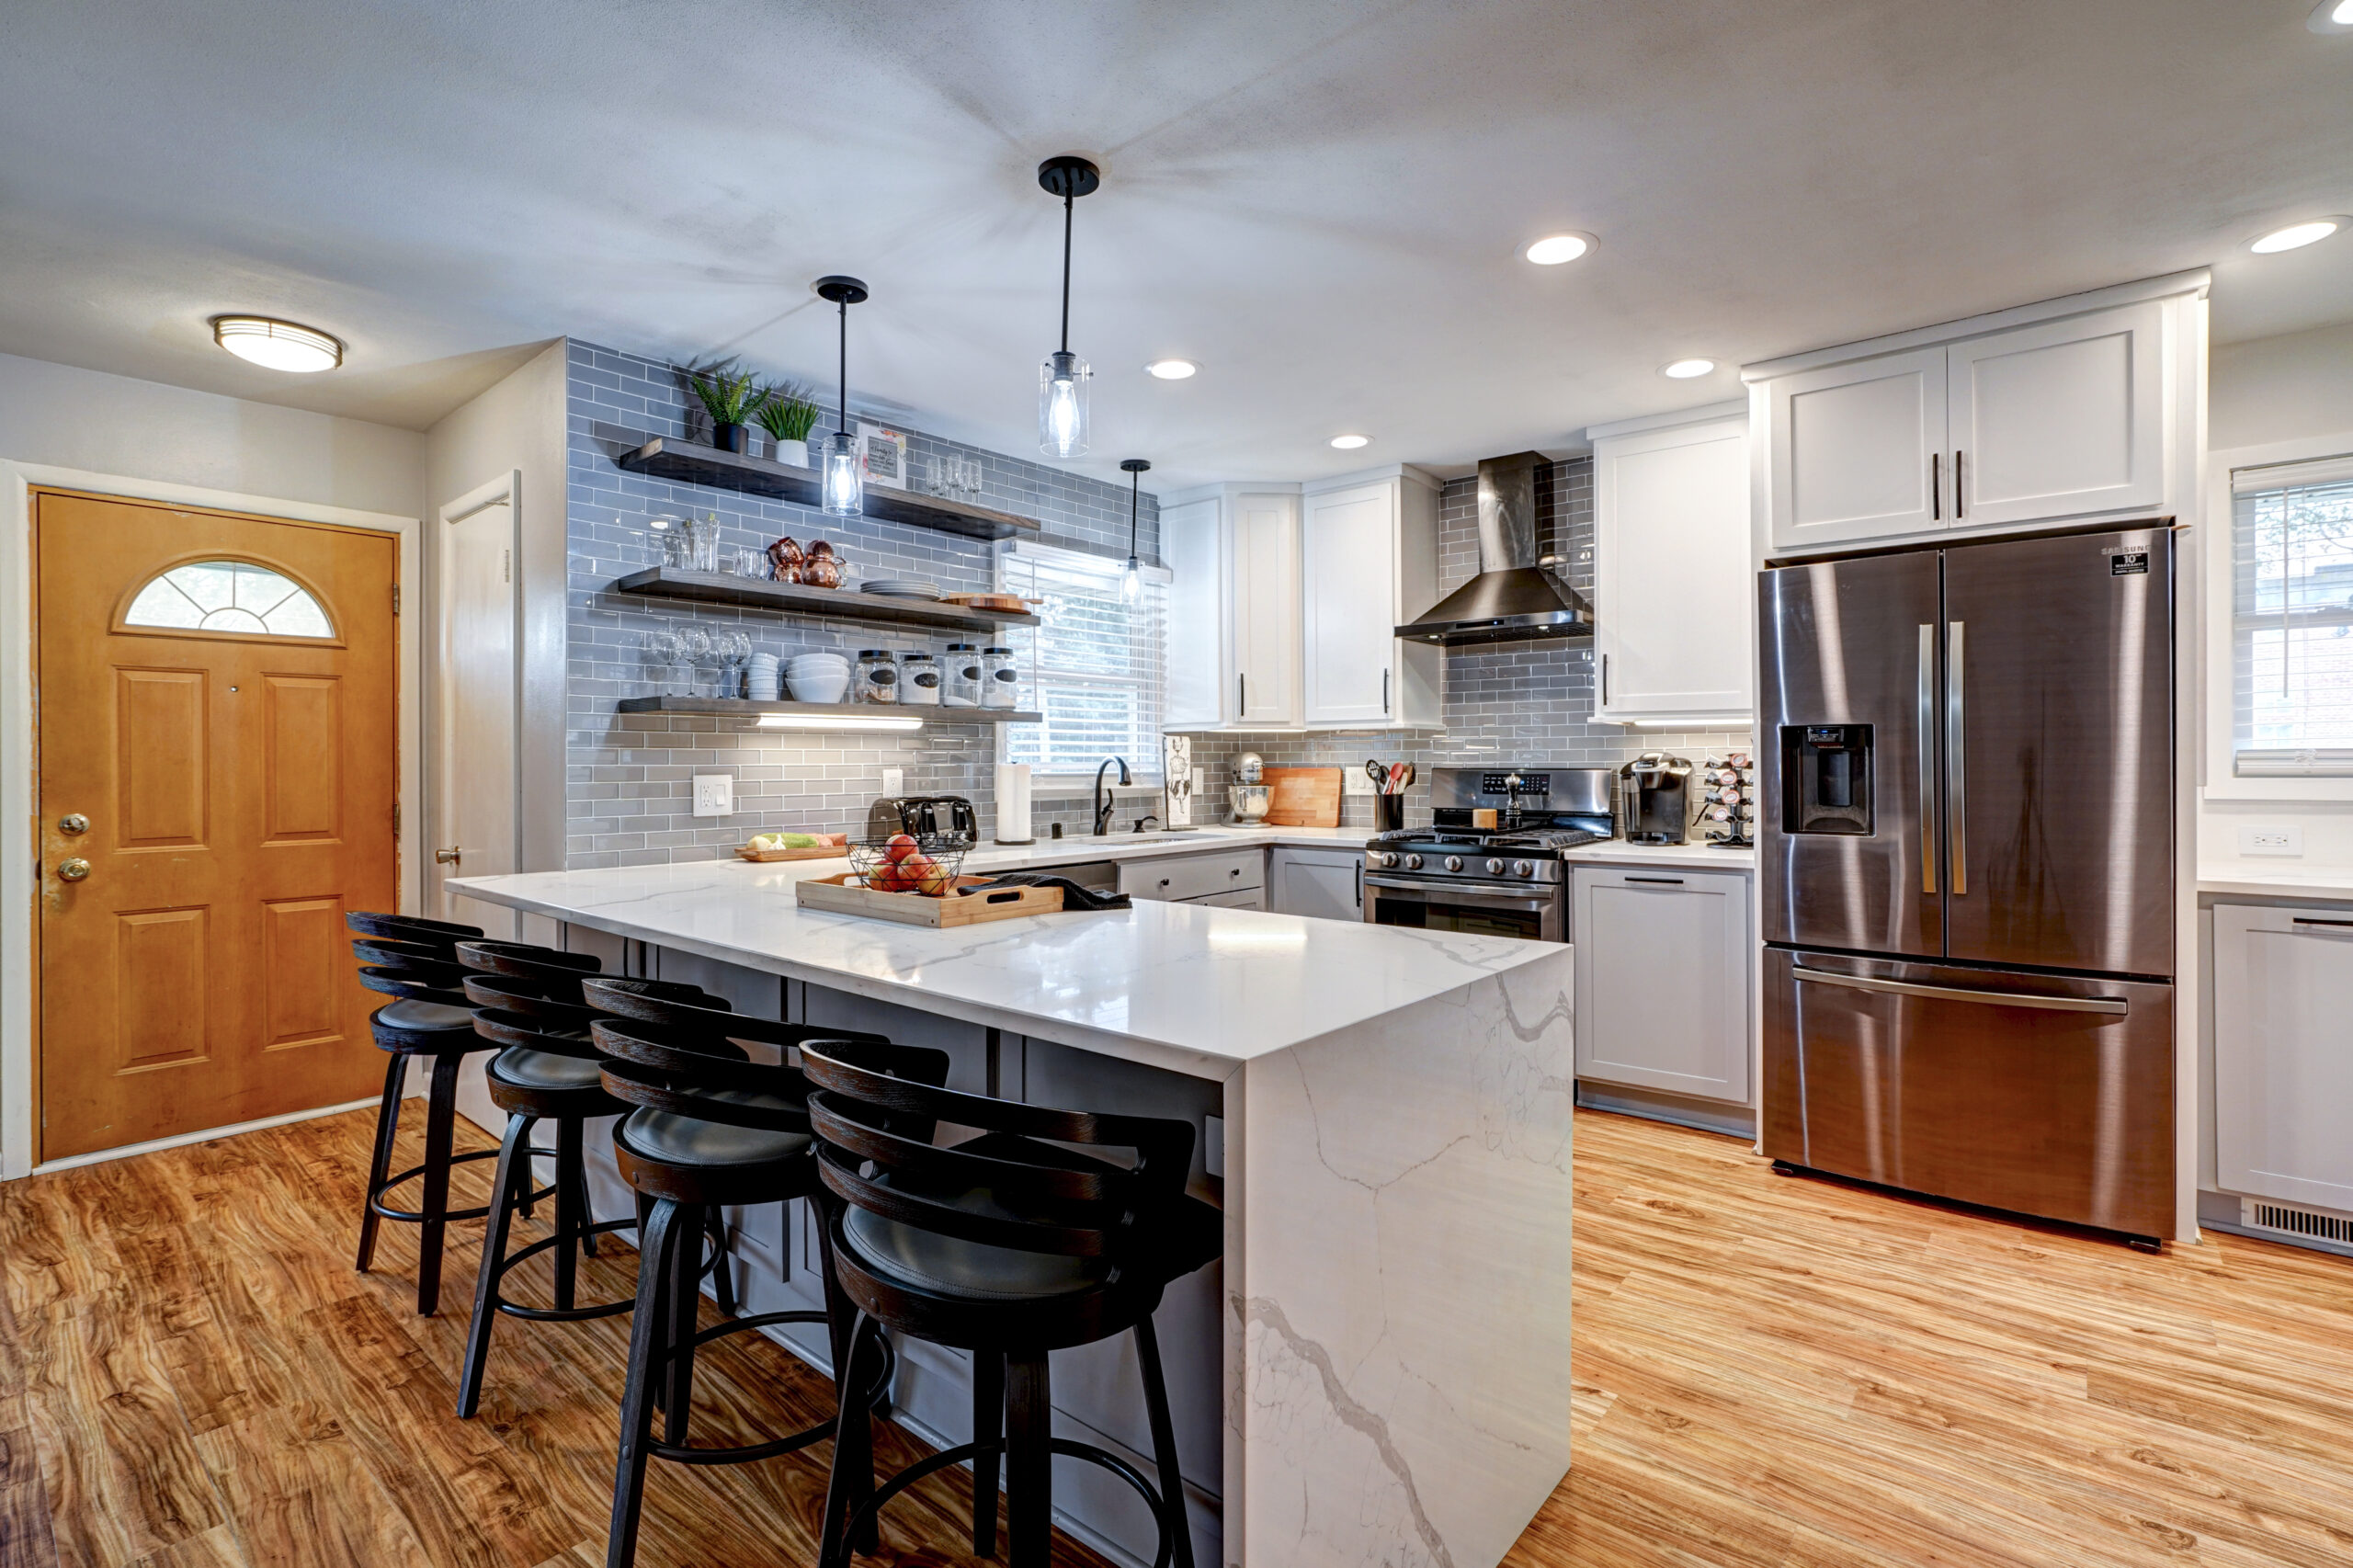
If you are dreaming of an island but are short on square footage, the key is understanding the minimum space around a kitchen island and how that affects traffic, seating, and safety. In most small kitchens, you need a clear plan before you buy a ready-made island or sketch one into your remodel. This guide breaks down exact clearances, step-by-step measuring, and simple layout fixes so you can decide with confidence. If you prefer a pro to verify your fit and recommend smart options, the team at Elite Improvements in Burlington, Wisconsin can help you design and build the right solution for your space.
The Clearances That Decide If An Island Will Fit
Work Aisles vs Walkways
You will see two common measurements when planning an island. A work aisle sits between the island and a run of cabinets with appliances or a sink. A walkway is a simple pass-through with no heavy cooking tasks. For comfort and safety, aim for these minimums:
- 36 inches: Absolute minimum aisle for a tight pass in small kitchens. It works best where there are no major appliances opening into the aisle.
- 42 inches: Recommended work aisle for one cook. This is the standard for everyday prep and movement.
- 48 inches: Best when two people cook together or where the refrigerator and dishwasher open into the same space.
When you evaluate the minimum space around kitchen island plans, prioritize 42 inches between the island and your main work zone. You can use 36 inches in low-traffic spots or along a wall that does not have appliances.
Seating Clearance Behind Stools
If you want seating at the island, leave room for knees and a safe walkway behind the stools:
- Overhang: 12 inches for casual perch seating, 15 inches for full-time seating comfort.
- Seat width: Plan about 24 inches per stool so people are not bumping elbows.
- Clearance behind stools: 36 inches minimum if there is a wall or obstruction behind the seats, 44 inches or more if there is a walkway behind the seats.
These numbers often decide whether an island with seating will fit or if you should pick a narrow prep island without seating.
Appliance Door Swing Zones
Account for door swings and standing space at every appliance near the island:
- Dishwasher: Leave about 21 to 24 inches in front of the door so someone can stand and load without blocking the kitchen.
- Range or oven: Plan roughly 30 to 36 inches in front when the door is open so it is safe to pull hot pans without collision.
- Refrigerator: Keep at least 36 to 42 inches of clear floor in front for opening doors and stepping aside while others pass.
When you mark out the minimum space around kitchen island concepts, place painter tape for these door swings on the floor. It helps you see if paths are blocked when doors are open.
Quick Math: Will An Island Fit In Your Room?
Simple Formula For A Galley Or Parallel Layout
Use this formula when you have cabinets on one side and want to place an island in front of them:
- Start with the total room width.
- Subtract the base cabinet depth with countertop on the main run, about 25 inches total.
- Subtract your target work aisle, 42 inches recommended for one cook.
- Subtract the island depth. A typical cabinet-based island is 24 to 27 inches deep without seating, 36 inches or more with seating.
- Subtract the opposite aisle, 36 to 42 inches depending on traffic.
If the result is positive, your island can fit on paper. If it is negative, reduce the island depth, change the aisle sizes within safe limits, or explore a peninsula or mobile cart.
Example: Tight 11-Foot Kitchen
Room width 132 inches, main run 25 inches, work aisle 42 inches, island depth 24 inches, opposite aisle 36 inches. 132 minus 25 minus 42 minus 24 minus 36 equals 5 inches leftover. That is too tight to build exactly as planned. You might try a 21-inch deep island or shrink the opposite aisle to 34 inches only if it remains a simple walkway with no appliance doors.
Small Island Size Rules That Work
Minimum Useful Dimensions
Even in a small kitchen, an island needs enough surface to prep and enough depth to hold storage:
- Depth without seating: 21 to 24 inches minimum, 27 to 30 inches preferred for better storage and stability.
- Depth with seating: 36 inches or more to allow cabinets plus a safe overhang.
- Length: 36 inches is the minimum to be useful, 48 to 60 inches is a common range in small to mid-size kitchens.
- Height: 36 inches is standard counter height. It works with most tasks and is the easiest for universal use.
Knee Space And Overhang Guidelines
If you add seating, match knee space depth to the counter height for comfort:
- 30-inch high counter: about 18 inches knee clearance depth.
- 36-inch high counter: about 15 inches knee clearance depth.
- 42-inch high bar top: about 12 inches knee clearance depth.
For most small kitchens, a 36-inch high island with a 12 to 15 inch overhang gives a good blend of comfort and compact size.
Plan For Power, Venting, And Lighting
Electrical Outlets
Many building codes require at least one tamper-resistant GFCI-protected receptacle on an island that meets certain size rules. Plan wiring during design, not after the cabinets are in place. Elite Improvements can coordinate code-compliant outlets and circuits during your remodel so the island is safe and functional from day one.
Cooktop On The Island
If you want a cooktop on the island, you will need a plan for ventilation and extra landing space. That can crowd a small layout and raise costs. In compact rooms, a prep-only island or an island with a sink is often a better choice. Discuss your cooking style with a pro so the layout matches how you use the space.
Lighting Basics
Good task lighting makes a small island shine. Hang pendants about 30 to 36 inches above the countertop and mark their location to avoid shadows. Use dimmers to switch from bright prep light to soft dining light.
Step-By-Step: Test Your Kitchen Before You Commit
Use Tape And A Template
- Clear the floor so you have a clean view of the layout.
- Measure and mark a rectangle for the island footprint with painter tape. Include any overhang for seating.
- Mark 42 inches from your main work run toward the island. Mark 36 to 42 inches on the opposite side.
- Open fridge, oven, and dishwasher doors with the tape in place. Note any collisions.
- Place stools or cardboard boxes at seating positions. Walk around to confirm the clearance behind seats.
- Stand at the sink and range. Pretend to prep and cook, then pivot to the island. Watch your steps at corners.
- Live with the tape outline for two or three days. If it annoys you or feels cramped, the island is too big.
Pro Move: Cardboard Mockup
Cut cardboard to the full size of the island and set it on temporary stands at 36 inches high. This makes it easier to test overhangs, reach, and sight lines. Elite Improvements often uses this approach during design to help homeowners visualize scale in small kitchens.
Layout Fixes That Make Room For An Island
Slim The Island
Choose 21-inch deep base cabinets for the island instead of standard 24-inch. You will lose a bit of storage depth, but you can regain critical aisle space without sacrificing a stable, fixed island.
Use A Waterfall Overhang Strategically
Keep the body of the island compact, then add a 12 to 15 inch seating overhang on one side only. This protects your main work aisle and still gives you a breakfast perch.
Shift Appliances
Move the dishwasher away from the main island aisle or switch the refrigerator door swing to avoid blocking paths. Small adjustments can free up 6 to 12 inches of effective space.
Peninsula Instead Of Island
Attach a peninsula to a wall to save one whole aisle. You still gain prep space and storage, and you often get better seating space with less crowding.
Bump-Out Or Micro Addition
A strategic bump-out of 12 to 24 inches along an exterior wall can turn a no-fit plan into a comfortable layout. Elite Improvements specializes in kitchen additions and bump-outs across southeast Wisconsin. A modest addition can unlock a functional island and better flow.
When An Island Will Not Fit
It is better to skip the island than to build a cramped one. Say no to an island if any of these are true after testing:
- Aisles fall below 36 inches on any side with appliance doors opening into them.
- The main work aisle is less than 42 inches in a one-cook kitchen or less than 48 inches in a two-cook kitchen.
- You cannot keep at least 36 inches behind stools where there is a wall, or 44 inches where people need to pass.
- Door swings trap someone at the range, sink, or fridge.
If your layout fails these tests, try a slim peninsula, a rolling cart, or a narrow table that can tuck away when not in use.
Smart Alternatives For Small Kitchens
Narrow Table Or Console
A 20 by 48 inch console table can serve as a prep surface and buffet, then slide out of the way for gatherings. It provides extra function without new wiring or plumbing.
Mobile Island Cart
Choose a sturdy butcher-block cart with locking casters. You can roll it out for meal prep and push it back to a corner to open the floor. Look for a cart with drawers and a towel bar for added utility.
Two-Tier Peninsula
A lower prep surface with a raised ledge for casual dining can hide mess while giving you more counter. This design often fits where a free-standing island will not.
Common Mistakes To Avoid
- Forgetting stool width. Plan 24 inches per seat, plus an overhang of 12 to 15 inches.
- Ignoring appliance doors. Always test swings on the floor with tape.
- Overbuilding the island. Drawers and pull-outs add function, but too many layers make the island deep and heavy in small rooms.
- Skipping outlets. Plan power early for code and convenience.
- Adding a cooktop to a tight island. Venting, safety, and landing space become hard to solve in small kitchens.
FAQ: Minimum Space Around Kitchen Island
What is the true minimum space around a kitchen island?
Plan for 42 inches on your main work side and at least 36 inches on secondary sides. If two people often cook, aim for 48 inches on the busy side. For islands with seating, add 36 to 44 inches behind stools depending on whether there is a walkway.
Can I make 36 inches work on all sides?
You can use 36 inches around the island in a very small kitchen as long as appliance doors do not open into those aisles. Keep the main prep and cook side at 42 inches if possible. Test it with tape and a cardboard mockup before you commit.
What is the smallest useful island size?
About 24 inches deep and 36 inches long is the smallest that feels helpful for prep. If you want seating, plan at least 36 inches of depth and 60 inches of length for two stools.
Is a peninsula better than an island in a small space?
Often yes. A peninsula removes the need for one aisle and can include seating without crowding. It is a strong alternative when you cannot maintain the minimum space around kitchen island footprints.
How Elite Improvements Helps You Get The Fit Right
Elite Improvements is a family-owned home improvement company based in Burlington, Wisconsin and serving southeast Wisconsin. We specialize in high-quality remodeling, home additions, and exterior improvements. From kitchen remodels to smart bump-outs, our team focuses on craftsmanship and customer satisfaction. We are accredited by the BBB and Milwaukee NARI and we follow ethical practices and proven processes on every project.
Kitchen remodeling services include layout planning, cabinetry, counters, flooring, lighting, and fixture upgrades. We also complete bathroom, basement, master suite, and living room remodels. If you need more space for a safe island, we build bathroom, bedroom, kitchen, home office, and sunroom additions, along with targeted bump-outs that unlock better layouts. For exteriors, we handle residential roofing, siding replacement, and custom decks.
When you invite Elite Improvements to assess your small kitchen, we measure the minimum space around kitchen island options, test appliance swings, create scale drawings, and build a realistic 3D view. We then recommend either a right-size island, a peninsula, or a cart solution that gives you more function without stress. To talk with a designer or schedule a visit, call 262-716-6663 or visit eliteimproves.com.
Pro Tips To Make A Small Island Feel Bigger
- Open storage on the seating side. Shallow shelves for cookbooks give character without adding depth.
- Waterfall ends. A clean vertical edge can visually slim the island and protect corners.
- Light colors and satin finishes. They reflect light and reduce visual bulk.
- Integrated trash pull-out. Keeps floors clear and prep fast.
- Two small pendants instead of three. Fewer fixtures reduce visual clutter above a small island.
Sample Checks You Can Do Today
One-Cook Galley Kitchen
If your room is 10 feet wide with one full run of cabinets, a 21 to 24 inch deep island might fit if you keep 42 inches on the work side and about 36 inches on the other. Skip seating and keep the island 36 to 48 inches long for an easy prep station.
L-Shape Kitchen With A Patio Door
Island plans often fail because the door path is blocked. If the patio door is opposite the fridge, choose a peninsula along the shorter leg of the L to protect traffic flow and keep the door clear.
U-Shape Layout
A tiny center island in a U-shape can crowd all three aisles. Aim for 42 inches on at least two sides. If you cannot hit that, consider a rolling cart you can park on the open side of the U.
Your Decision Checklist
- Measure room width and length, plus cabinet depths including counters.
- Decide your primary work aisle. Target 42 inches there.
- Set secondary aisles at 36 to 42 inches depending on traffic.
- Choose island depth and length that fit those aisles.
- Confirm seating overhang and clearance behind stools.
- Test appliance door swings with tape on the floor.
- Plan outlets, lighting, and any plumbing early.
- Mock up the island and live with it for a few days.
- If it still feels tight, try a peninsula, a slimmer island, or a cart.
- Get a pro review from Elite Improvements to validate measurements and code needs.
Bottom Line: Fit Comes From Clearances, Not Just Size
The right island can transform a small kitchen, but the wrong one can make it feel cramped and unsafe. Focus on the minimum space around kitchen island paths first, then pick an island depth, length, and seating plan that respect those numbers. Use tape, templates, and a few days of living with the layout to be sure. When you want expert help, Elite Improvements brings careful measurement, thoughtful design, and skilled construction to every kitchen. Call 262-716-6663 or visit eliteimproves.com to schedule a consultation and see what will truly fit your space and your life.
Related Posts
Do Heated Bathroom Floors Actually Warm Up The Whole Room In Winter?
How To Figure Out The Best Placement For Your Kitchen Sink
Remodel Or Tear Down? How To Decide IN 2026
